Setup for Treon Industrial Nodes
Introduction
In order for the Treon Industrial Node and Treon Industrial Node 6 to connect with the Treon Gateway and show as active in Treon Connect, you first need to activate them.
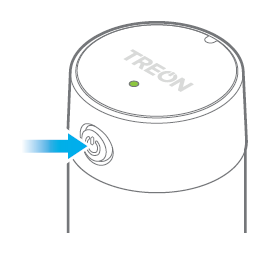
Step 1: Switch on the Industrial Node
Press and hold the power button until the status light turns green
Step 2: Check the connection
To see if the Treon Industrial Node is connected to the Treon Gateway:
Press the power button just briefly. The status light turns green and then goes off
If the status light then turns green again for 5 seconds, the node is connected.
Green 5 seconds = connected
If the status light instead turns red for 5 seconds, the node is not yet connected.
Red 5 seconds = not connected
In case the Treon Industrial Node is not connected, check that the Treon Gateway has been powered on and the node has had some minutes of time to establish the connection.
It is also possible that the node may be too far from the gateway or surroundings are blocking the radio connection.
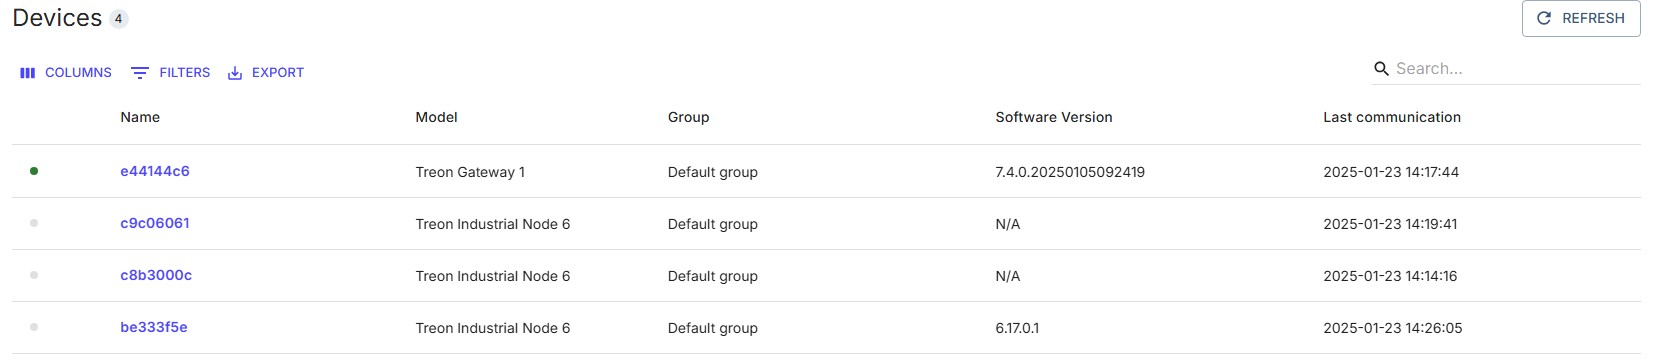
After the Treon Industrial Nodes have been activated, they will show as active in Treon Connect. In the standard sampling setting and communication cycle, this can take up to 30 minutes. Check the Last Communication column in your Treon Connect Devices app.
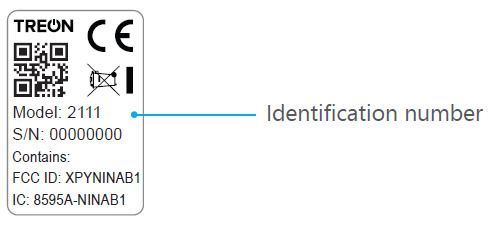
Step 3: Read the Node ID
The identification number of the node is printed on the sticker attached to the node, and it can be as well read from the QR code
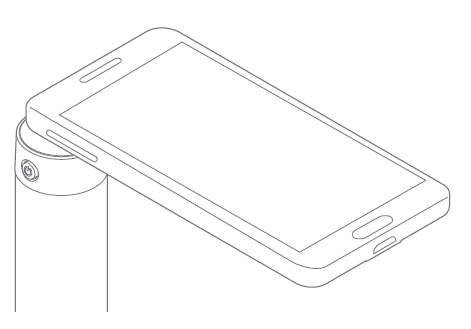
You can also use a NFC reader, such as an NFC-enabled mobile phone to read the identification number: switch on NFC on the reader and touch the top of the node with the reader.
Your Treon Industrial Node or Treon Industrial Node 6 is now activated and connected to the Treon Gateway. You can check if the collected data is arriving in the backend.
Next step: Treon Connect Devices Management

Last updated on Dec 8, 2025