How to Commission Sensors
The Treon Industrial Sensor C is a wireless battery- operated sensor device for collecting condition monitoring data of industrial equipment.
When the device is powered on and provisioned, it starts automatically to measure and transmit data.
The Treon Industrial Sensor C uses wireless Bluetooth connectivity to transmit sensor values to a gateway. The data is sent via the gateway to the Treon Connect cloud backend, for analysis or delivery to other systems.
Commissioning a sensor attaches it to an asset in your Treon Connect instance.
For commissioning a sensor you need an NFC-capable smart phone and the Treon Connect app, and you need to be in close proximity to the sensors you want to commission.
Step 1: Turn on NFC on your phone
To enable NFC on an Android device, go to Settings > Connected devices > Connection preferences > NFC, then toggle the switch to On. Once activated, the device can exchange data with other NFC-enabled devices or tags when they are nearby.
Step 2: Start Treon App
To start the Treon App, simply tap its icon from your Android device’s home screen or app drawer.
If your Treon Connect app is not yet connected to your Treon Connect instance, please log in with your user credentials.
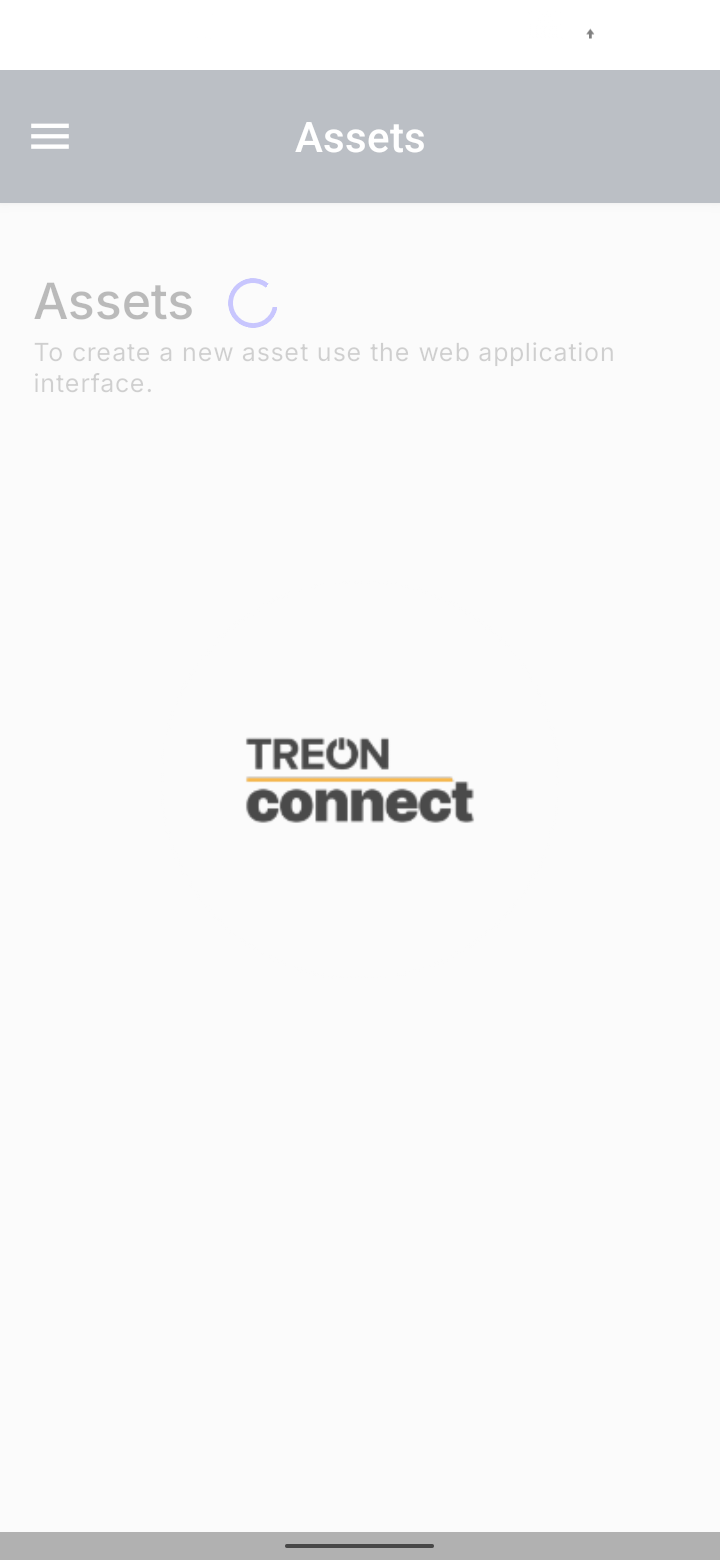
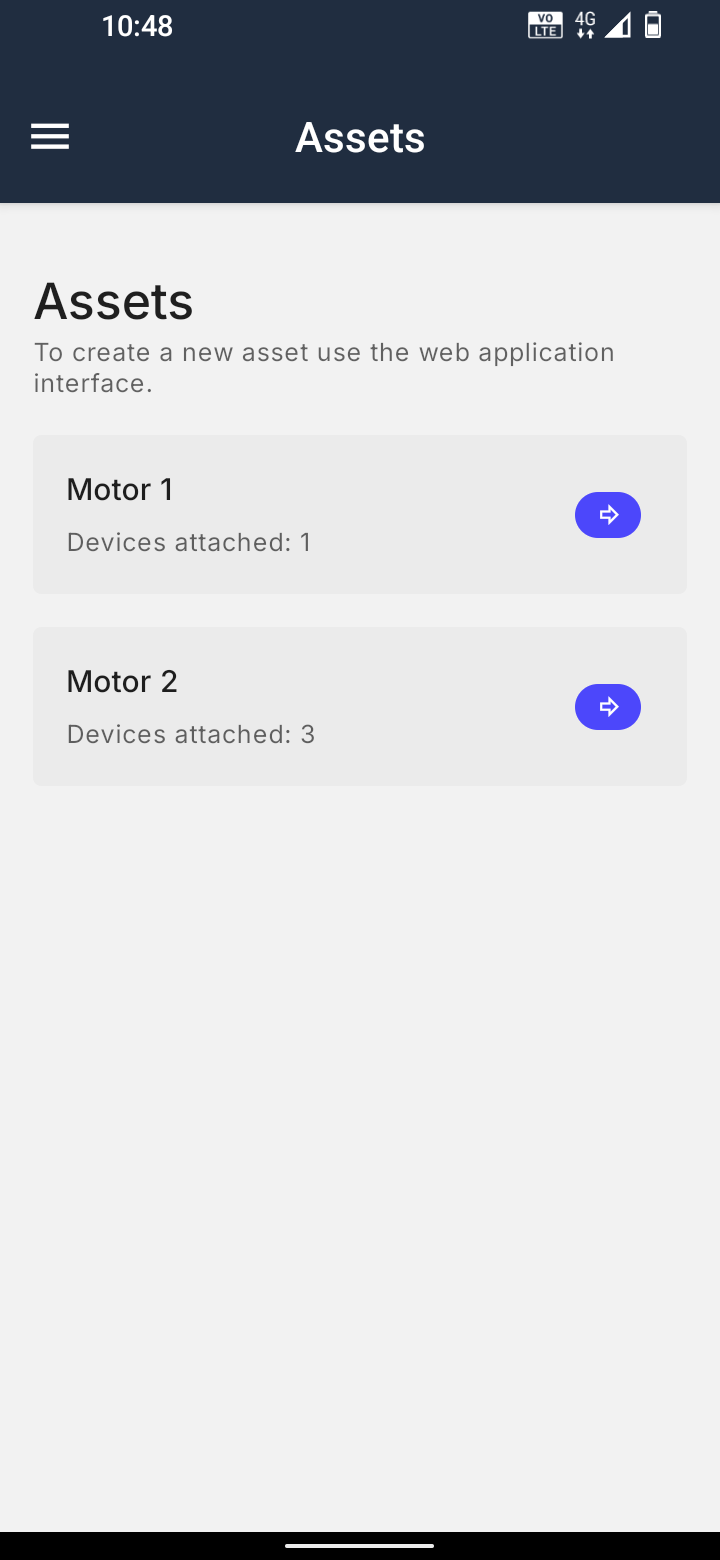
Step 3: Choose the Asset
From the asset list in the Treon App, tap the specific asset you want to attach the sensor to in order to proceed with commissioning the sensor.
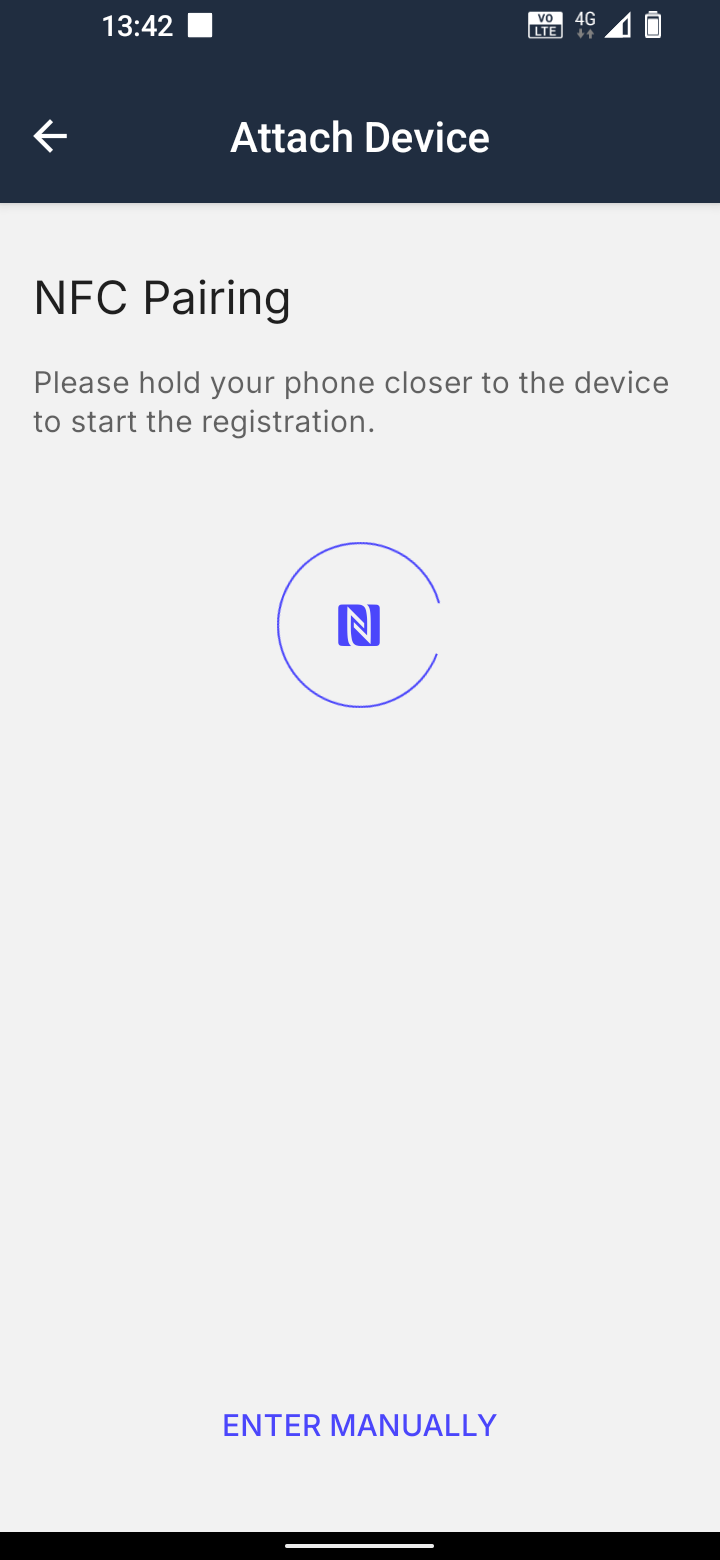
Step 4: Attach the Device to Start NFC Pairing
Bring the smartphone NFC field to the proximity of the sensor.
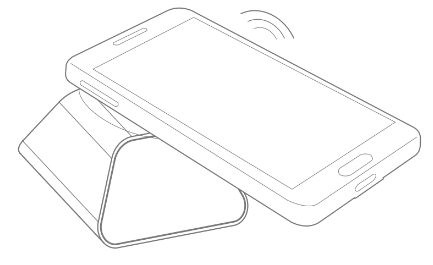
Press the Attach Device button in the Treon App to automatically initiate NFC pairing with the sensor.
Now hold the Treon Node C close to your phone’s NFC sensor until the pairing process begins automatically.
Step 5: Wait for successful NFC pairing
The Treon App displays the progress of the sensor commisioning on the screen.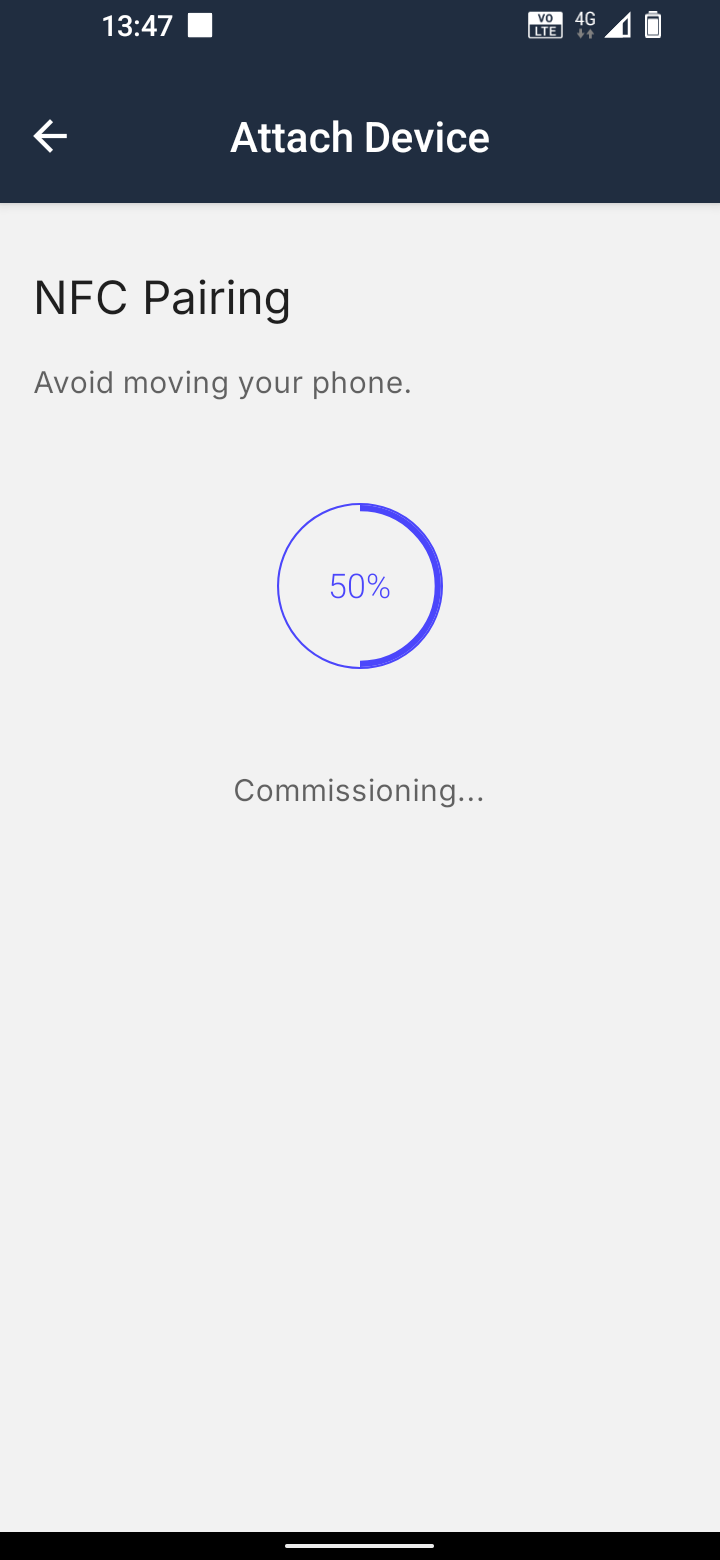
Please keep the phone and the Treon Node C sensor steady during the pairing process. In case the NFC pairing fails, please start the process new by pressing the Try Again button.

Step 4 b / 5b: Manually attaching a sensor
Alternatively, you can attach a sensor to an Asset manually. This is only possible if a sensor has previously been commissioned to an Asset linked to your Treon Connect instance.
To start the process, press the Enter Manually button during the NFC pairing process.
In the menu, select the Treon Node C sensor you want to attach to the Asset from the list of available sensors.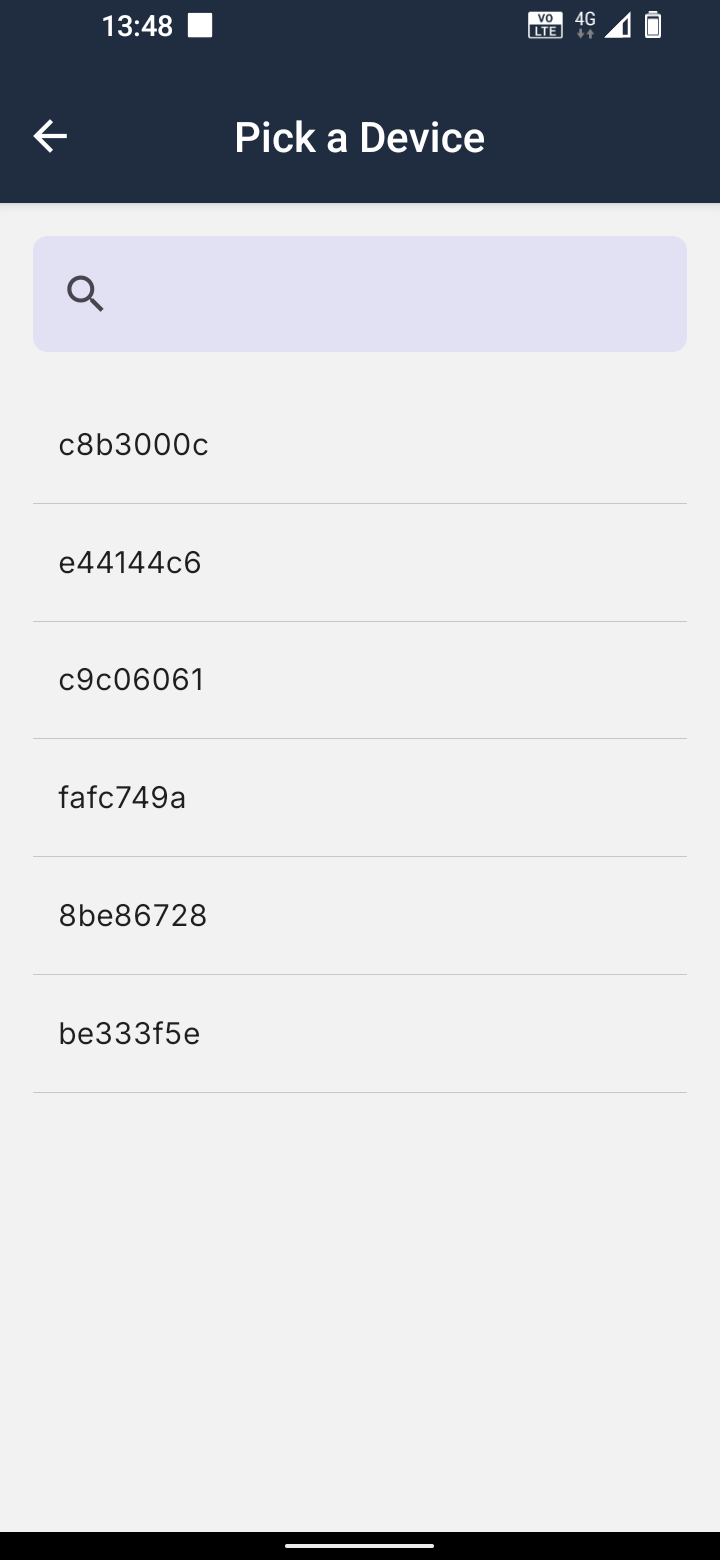
If the sensor is not shown in the list, it likely has not been commissioned to an Asset in your Treon Connect instance yet. Please follow the NFC pairing process to commission the sensor.
Step 6: Specify Device Properties
After the sensor has been paired and commissioned successfully, you are asked to fill in the details of the sensor deployment.
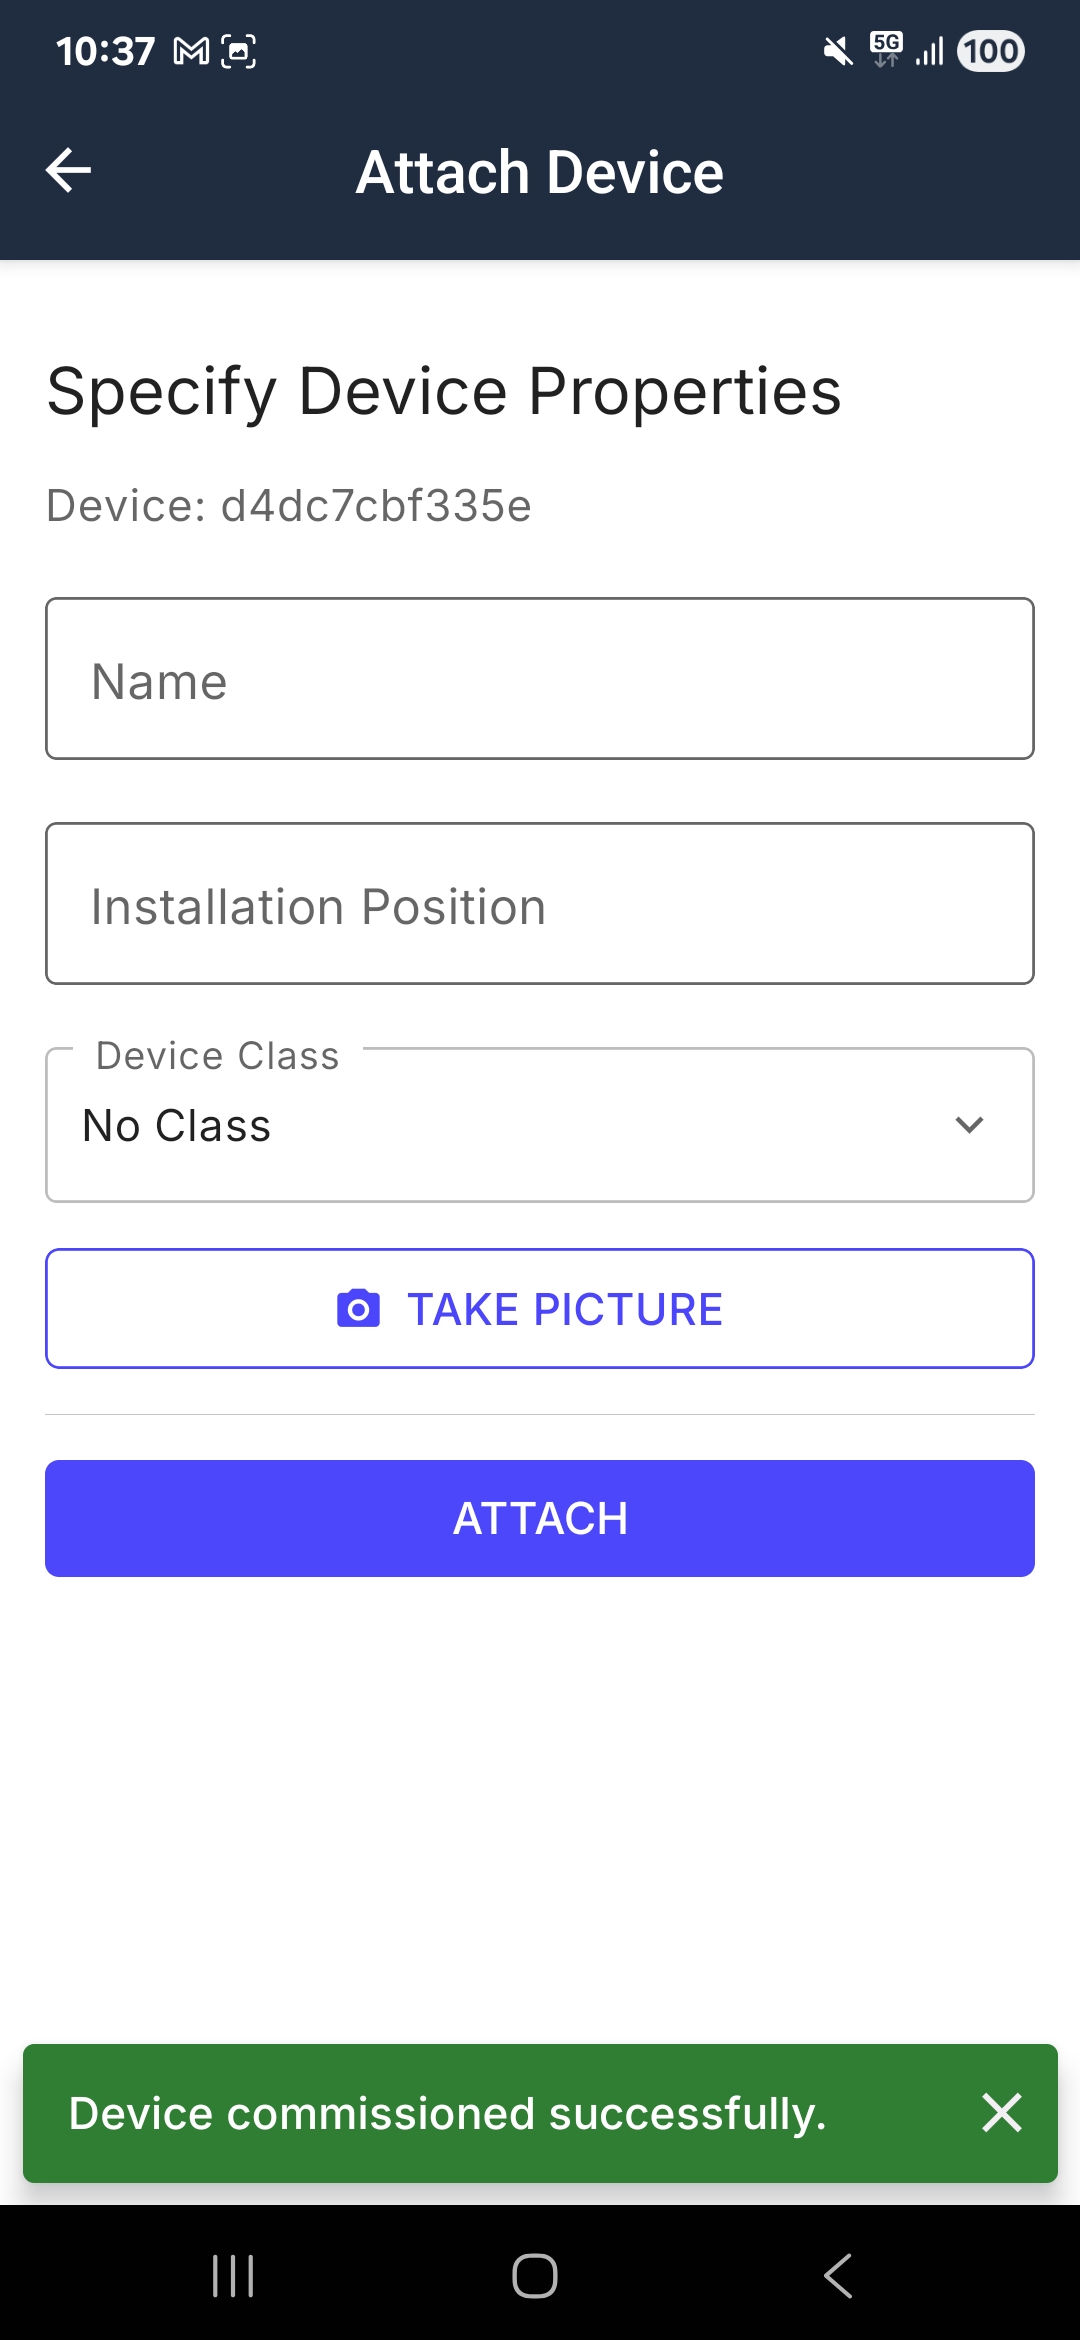
Name: Name the sensor according to it’s deployment position. Choose a name that clearly identifies the specific sensor.
Examples for easily identifiable namings are:
- “Conveyor belt B2, position 3, left side”
- “Fork lift 3, motor top side”
Installation Position: Describe the positon of the sensor on the asset.
Device Class: Select a Device Class for the asset from the pre-defined list. Assinging the Device class will automatically enable class-based event-rules for alerts and warnings.
Take Picture: In order to identify the position of the sensor on the asset, you can take a photo. After pressing the button Take Picture, take a picture of the sensor with your phone’s camera.
After you have entered all necessariy data, press the Attach button to complete commissioning the sensor device.
Completion
Your sensor device has now been commissioned and is attached to an asset in your Treon Connect instance.
Please note that the sensor will not begin transmitting data immediately after commissioning. Commissioning initiates the sensor’s internal clock cycle, during which it will send measurements at regular intervals. It may take several measurement cycles before the first data is successfully transmitted to the cloud. Once transmission begins, the sensor will continue sending data consistently.
Troubleshooting
Error: "Oops! Something went wrong!" in the login view.
This error occurrs when the phone has no network connection, or very bad network connection. Please make sure your phone has network connection via SIM card or Wi-Fi to continue.Error: "There are no assets."
No Assets have been created in Treon Connect. Commissioning requires an asset to which the device is commissioned to. Resolve by creating Assets before commissioning the sensors.Error: Sensor commissioning failed due to NFC disactivation
NFC is switched off on the phone while commissioning a sensor. The Treon Connect app checks that NFC is turned on before starting the commissioning process but not while the process is ongoing. If NFC is turned off during commissioning, the commissioning process will fail. To resolve, please turn on NFC and start the commissioning process of the sensor again. )Error "Device commissioning failed" during NFC pairing
If the phone with its NFC sensor is moved during the pairing process, it might fail. To resolve, start the commissioning process again and keep the phone steady until the pairing has successfully been finished.If pairing fails multiple time even if the phone is held completely steady, please contact Treon Support.
Error: Treon Node C sleep cycle
After failing the commissioning, the Treon Node C does a sleep cycle. If the timing of the next attempt is unfortunate (~3-5s after the previous one), the new attempt will fail as well. This can result in a loop where the commissioning never gets the change to start. To resolve this issue, please wait for 10s before starting the commissioning process again.Error: "Permission Denied. You cannot commision this device."
If the Treon Node C has been commissioned already, and the user does not have access rights to the device in Treon Connect, it is not possible to continue with this sensor. Please contact a user with higher or admin access rights in your organization.

Last updated on Sep 16, 2025