Installation with Direct glue mounting
Introduction
With the Direct Glue Mounting method, the Treon Industrial Node X is attached directly to the machine surface using glue. This provides the shortest possible vibration transmission path, delivering excellent measurement quality. Manual alignment of the Industrial Node X is possible before the adhesive cures, allowing the sensor to be oriented correctly for the application.
This installation method requires a completely flat and smooth surface with a minimum diameter of 31.7 mm (1.25 in). It is ideal for situations where drilling or tapping holes is not feasible. For best results, the node should be pressed firmly onto the surface until the glue or epoxy cures.
Applies to: Treon Industrial Node X
Adapter: None (direct bonding)
Use when: The surface is flat and smooth, drilling is not possible, and optimal vibration performance is required.
Specifications
| Parameter | Value |
|---|---|
| Bonding | Glue |
| Minimum mounting surface diameter | 31.7 mm (1.25 in) |
| Minimum thread hole depth | – |
| Total height (Node + adapter) | 80 mm (3.15 in) |
| Curved surface | No |
| Uneven surface | No |
| Allows manual orientation | Yes |
| Frequency response (vibration) | Excellent |
| Temperature response (steady‑state) | Excellent |
| Fast temperature change response | Excellent |
| Affects magnetometer measurements | No |
Requirements
Requirements – Direct Glue Mounting
For this installation method you will need:
- Treon Industrial Node X.
- Clean, flat mounting surface (minimum 31.7 mm / 1.25 in diameter).
- Industrial‑grade glue or epoxy (e.g., Loctite 4090 or equivalent).
- Cleaning materials (degreaser/isopropyl alcohol, lint‑free wipes).
- Clamps or fixtures to hold the node in position while adhesive cures (optional).
- Personal protective equipment (PPE) as per site rules.
Step 1: Clean the surface
Clean the machine surface thoroughly.
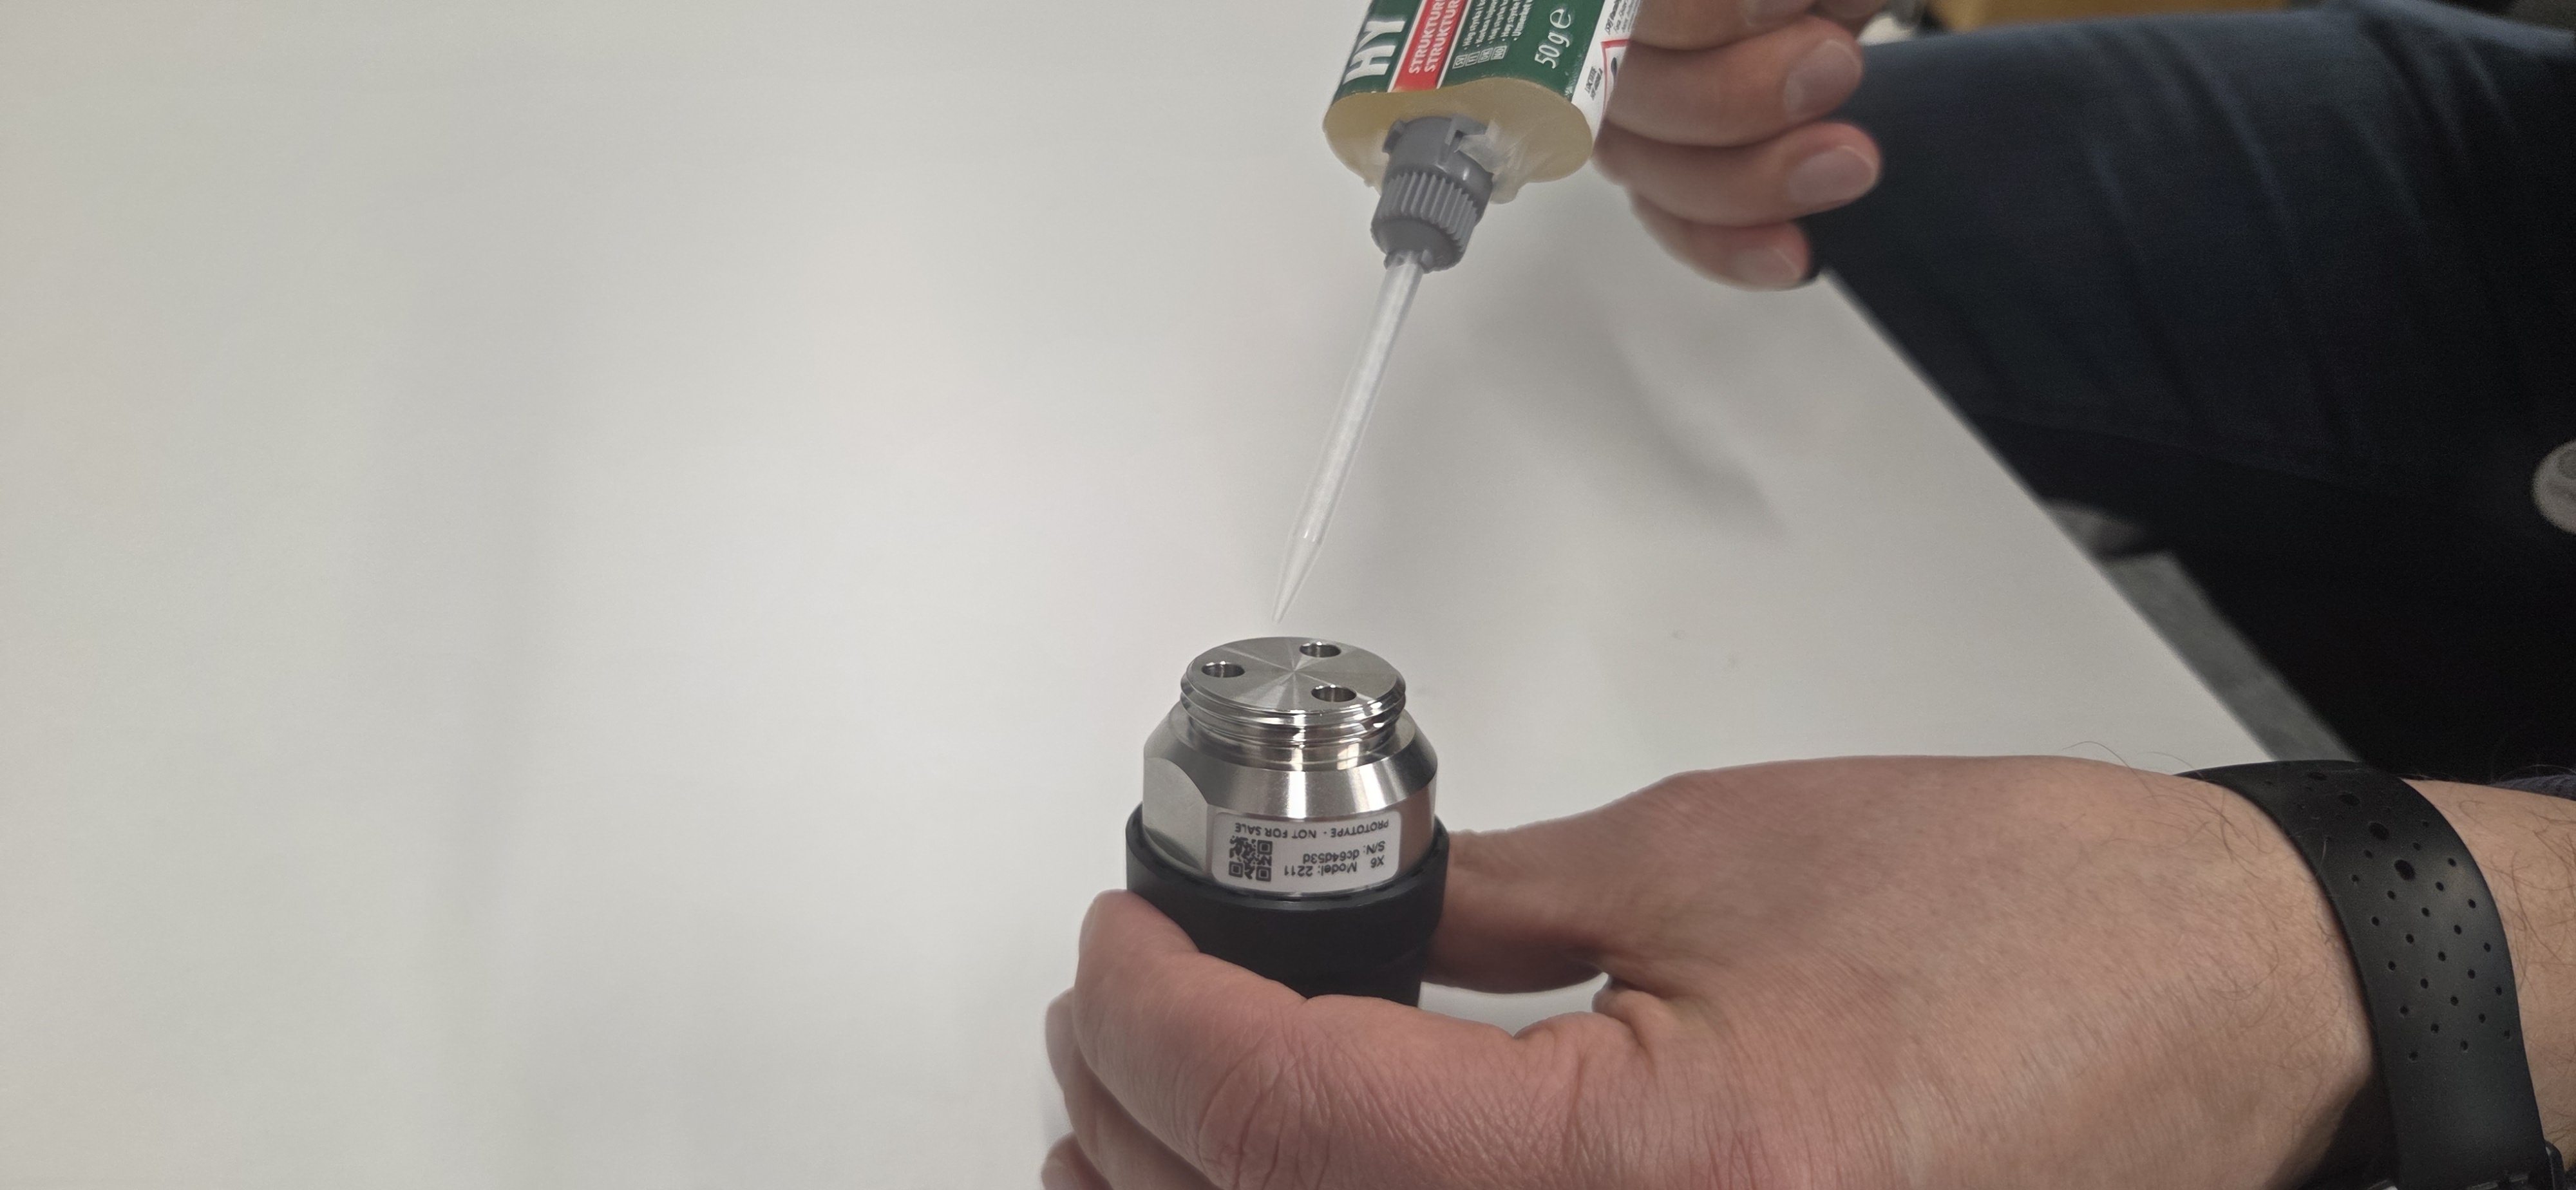
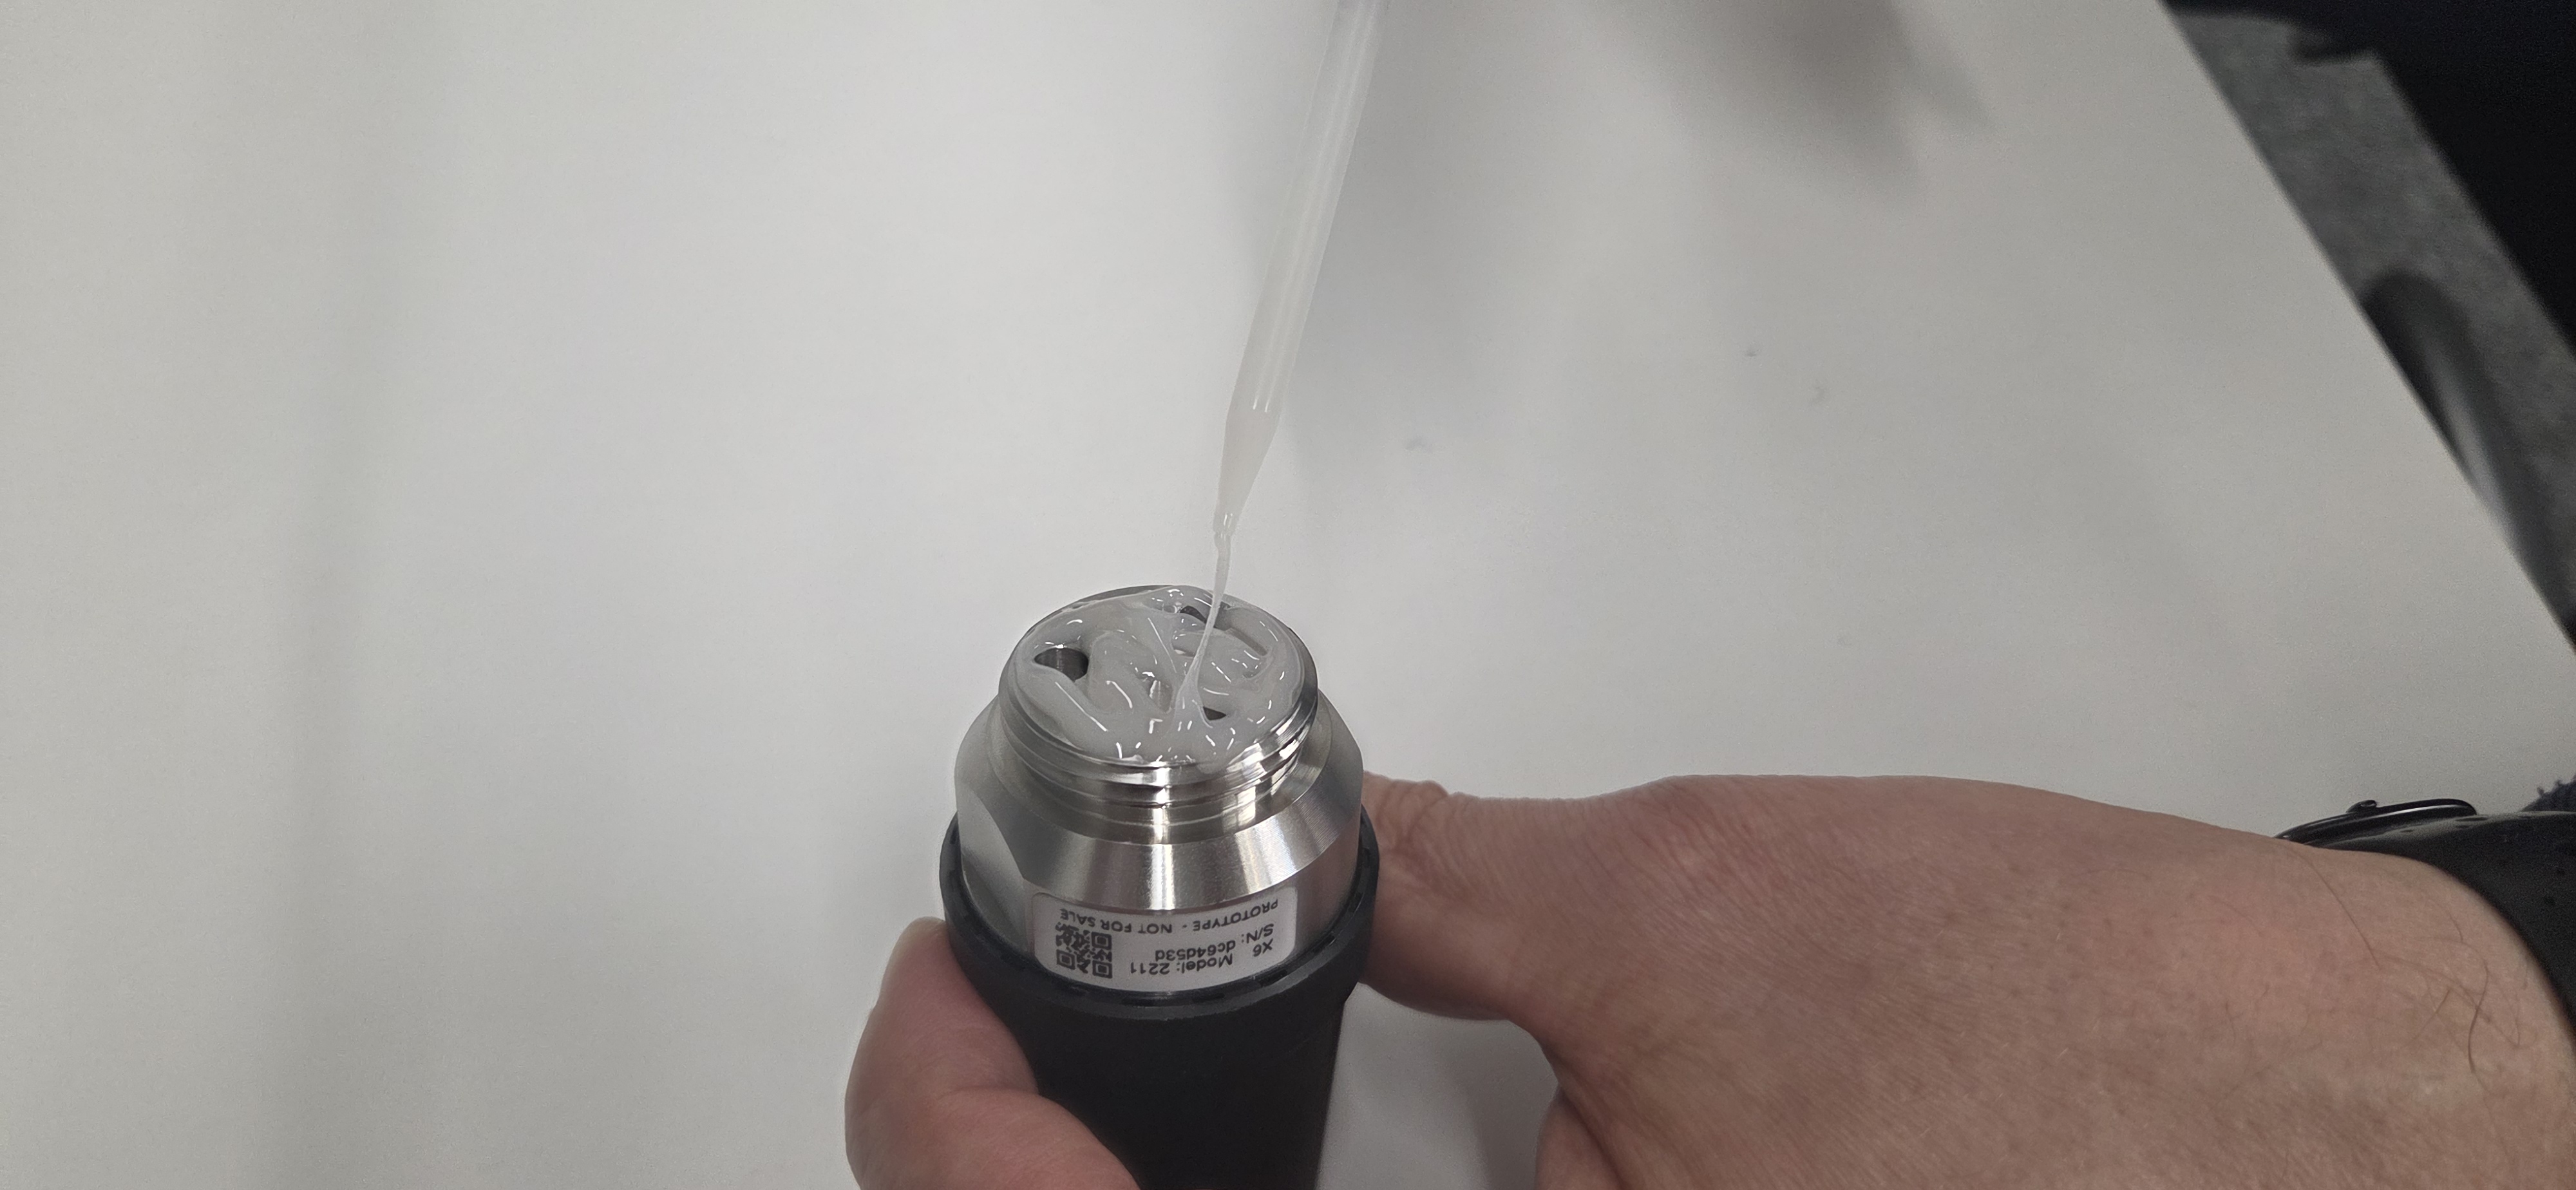
Step 2: Apply glue
Choose an appropriate glue like the Loctite HY 4090. Follow closely the instructions that come with the glue!
Apply the glue to the mounting area on the asset. The mounting area needs to be a minumum of 31.7 mm (1.25 in) in diameter.
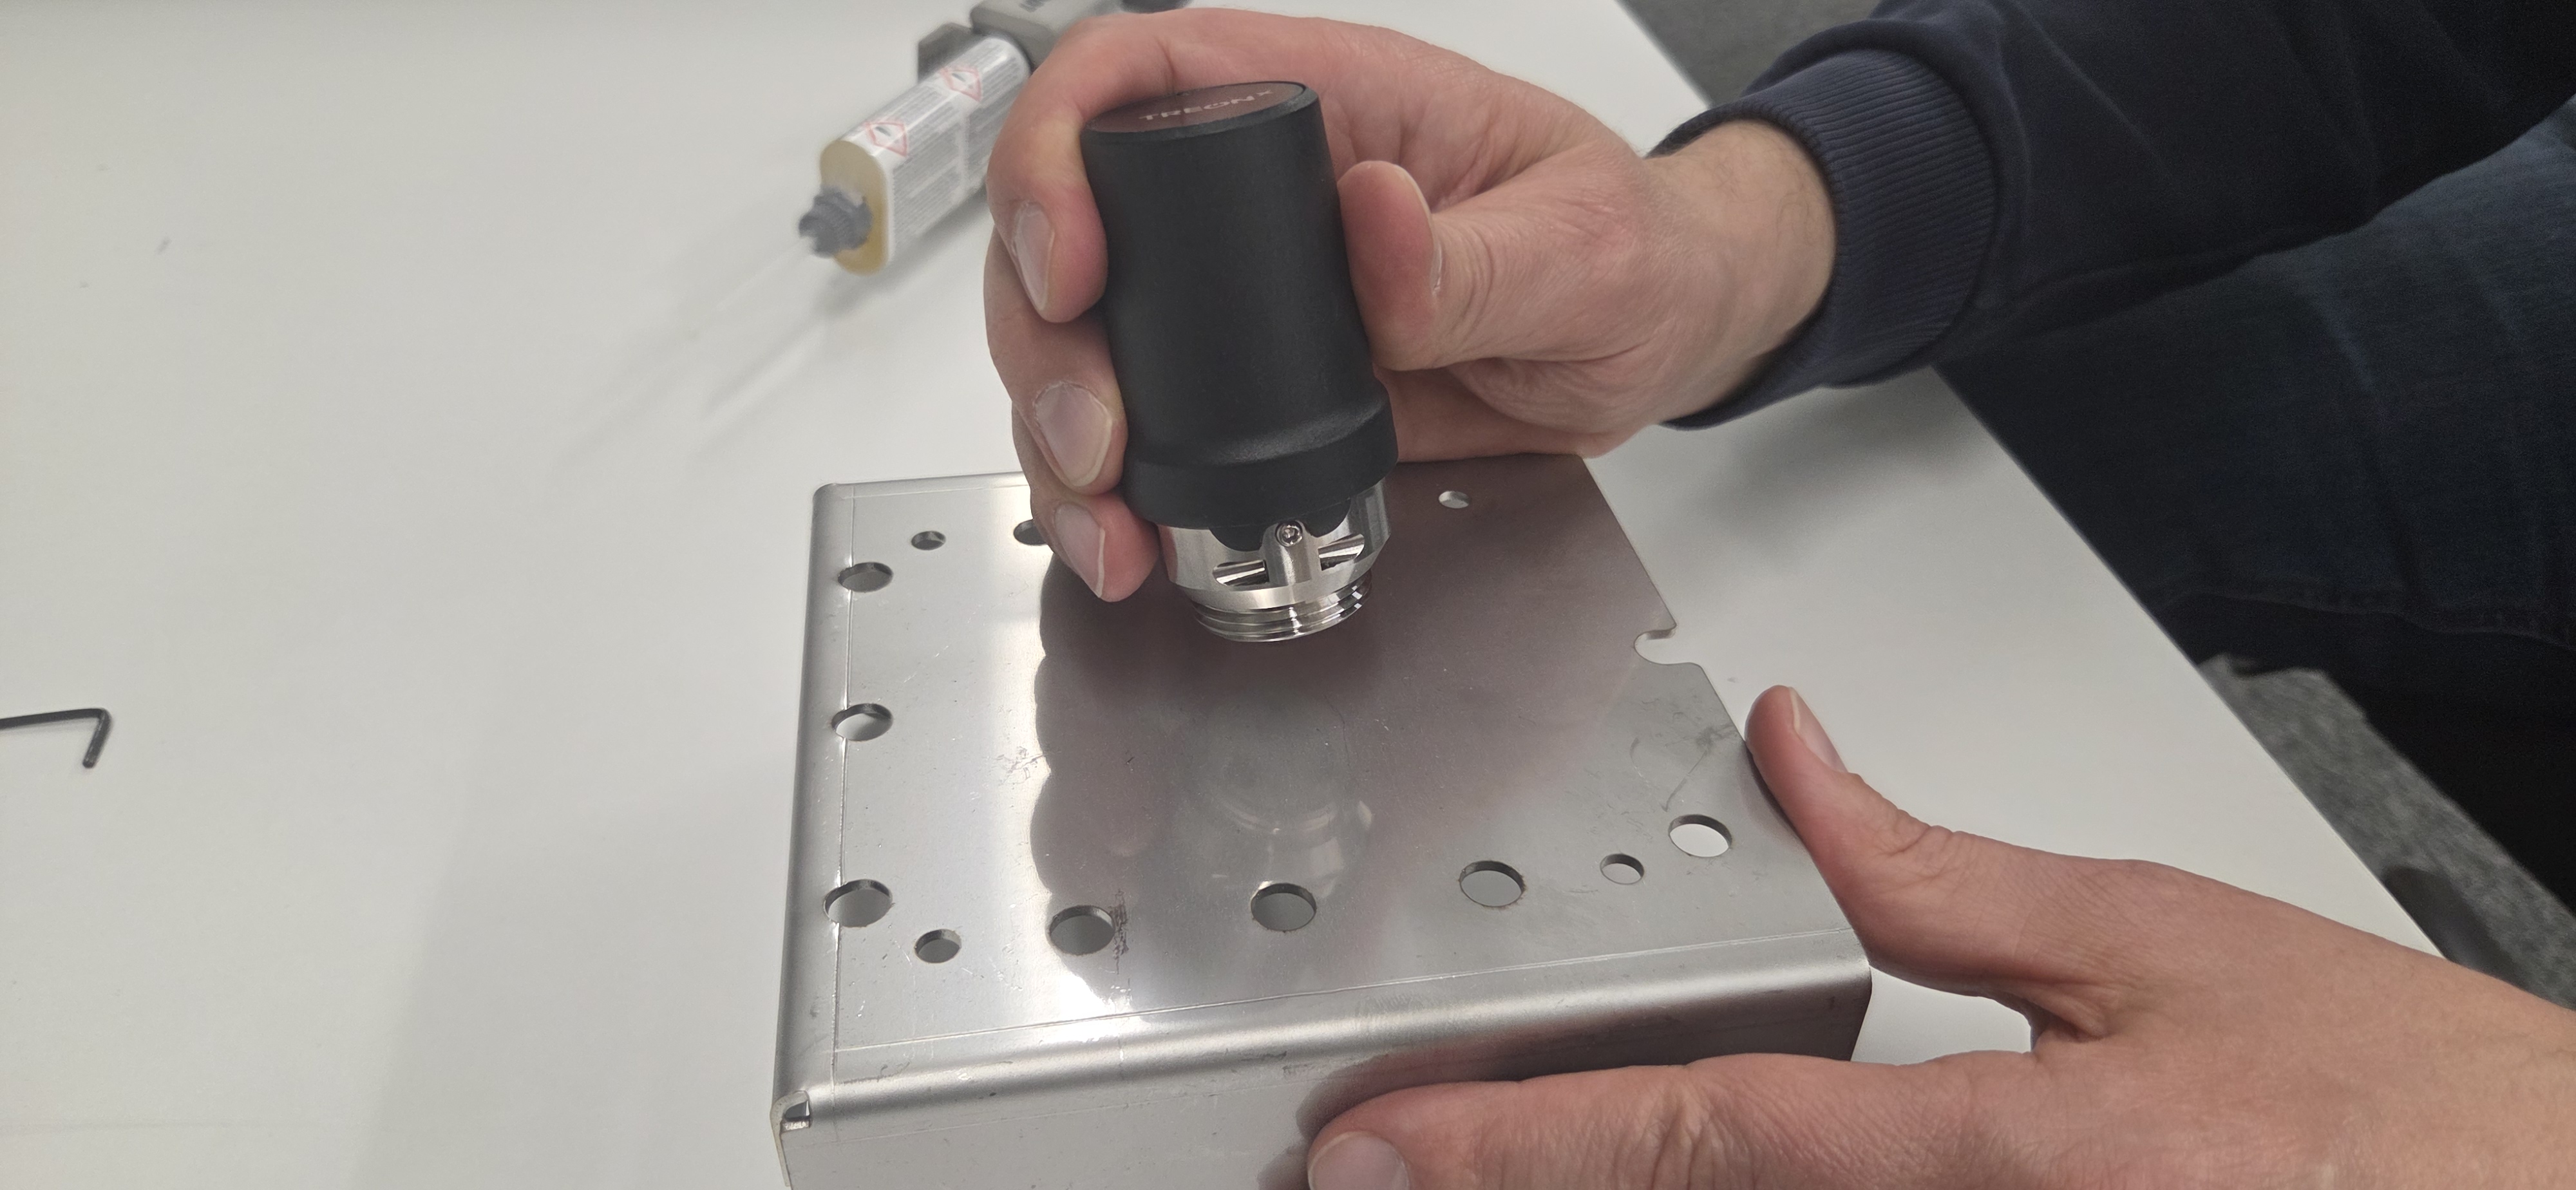
Step 3: Place node on asset
Place the Treon Industrial Node X in the desired orientation on the area where you applied the glue. Hold it in place to secure glue adhesion.
Verification
- Confirm axis alignment marks match the intended directions.
- Run a quick measurement and validate expected directional sensitivity.
The Treon Industrial Node X is now fully installed!
Troubleshooting
Error: The surface has paint.
Consider removing the paint if found safe after consulting the machine's operating and maintenance documentation. In some cases, attaching the node to loose paint might lead to it falling off. You can achieve the best measurement results through a tight connection to the machine body.Error: The asset cannot be turned off.
In case the asset cannot be turned off for installation of the Treon Industrial Node X, please proceed with caution and take all safety protocols at the deployment site into account.Error: Glue does not dry or hold.
Choose an appropriate glue such as the Loctite HY 4090 and follow closely the instructions that come with the glue.Error: The asset was damaged.
If at any point it seems like the asset was damaged during the installation process, please consult the machine's repair manual or contact the manufacturer for further instructions on how to conduct the repair.Disclaimer
Treon is not responsible for any damage, injury, or malfunction resulting from the installation or use of the Treon Industrial Node X.
Installation must be performed by qualified personnel.
Any issues arising from incorrect installation, improper handling, or use outside the specified guidelines are the sole responsibility of the installer or end user.

Last updated on May 7, 2026