Build group hierarchy
Groups are two things at once: your site structure, and the unit of access control. Every asset, device and user permission attaches to a group — so this is the first thing to set up in a new instance, before you invite anyone or create any assets.
1. Sketch the tree first
Model the tree on how your organisation actually talks about its sites, because that is what people will look for in the group selector — for example region → site → production line.
Keep it shallow enough to navigate and deep enough to grant access along real boundaries: if a contractor should see one line and not the whole plant, that line needs to be its own group.
2. Create the groups
In Groups, create the top-level groups, then add sub-groups beneath them. See Group hierarchy for the mechanics of creating, renaming, moving and deleting.
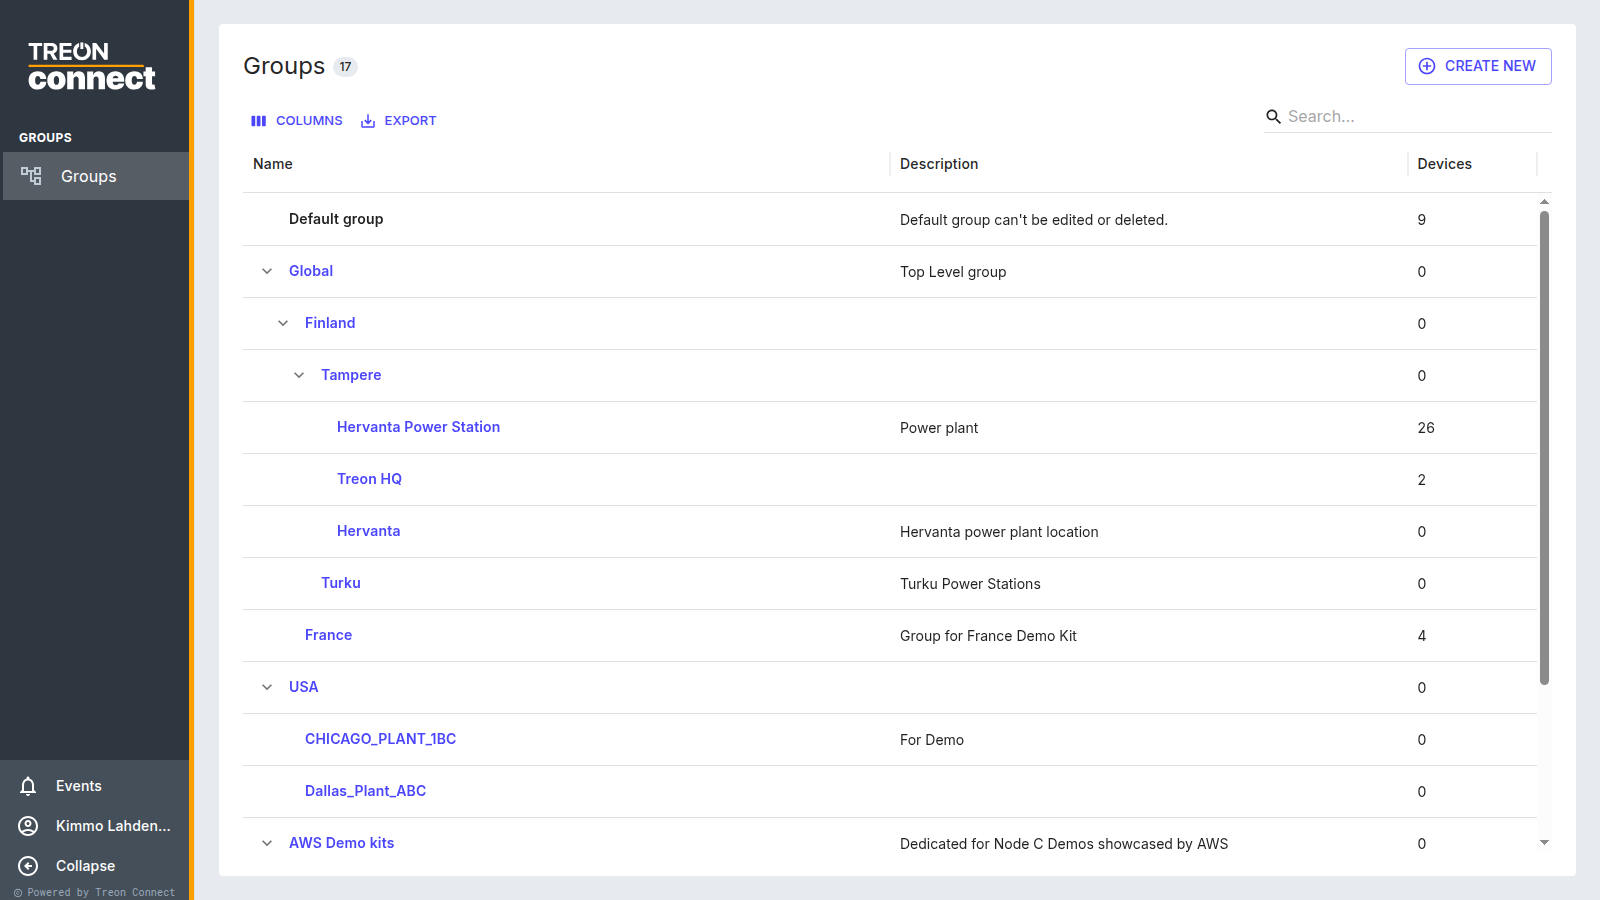
3. Check it before you fill it
Reorganising a hierarchy that already holds assets, devices and roles is more work than getting it right while it is empty. Before you move on, confirm that:
- every physical site has a group;
- every group that needs separate access is its own group, not a label inside a bigger one;
- names are unambiguous across the whole instance.
New sub-groups and existing roles
Adding a sub-group under a group a role already covers does not automatically extend that role's permission to the new sub-group. Re-save the role afterwards to cascade it — see Users and roles.