Gateway installation
The gateway is the first thing to install and the first thing to get online: sensors have nowhere to send their data until a gateway is reachable. Full hardware detail is in Treon Gateway; this guide is the field sequence.
1. Choose the position
Place the gateway centrally in the area you are covering, as high and as clear of large metal structures as the installation allows. Sensors reach it directly or — with Treon Industrial Node X — by hopping through neighbouring sensors, so a central position shortens every path.
Plan this before you go on site: the layout of the building and the location of the monitored assets decide how many gateways you need and where they go. See Network for the planning rules, and Recommended installation locations for the sensor side.
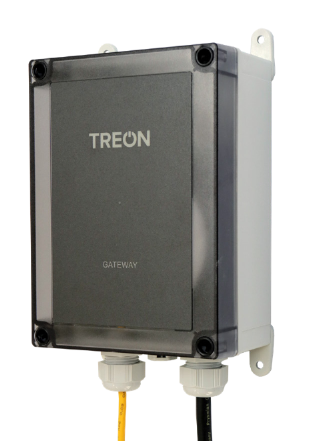
2. Mount it
- Turn the four adjustable mounting brackets outwards.
- Attach the enclosure to the surface with four screws (maximum 4 mm diameter; screws are not in the sales package).
- Make sure the mains plug stays easily accessible.
In Australia and New Zealand the device must be mounted below 2 m in height.
3. Connect it to the internet
The gateway tries its connections in a fixed priority order: Ethernet first, then cellular (SIM), then Wi-Fi. Ethernet and cellular therefore override a configured Wi-Fi connection.
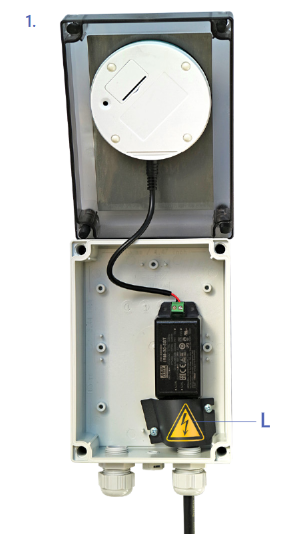
Open the enclosure lid, run the RJ45 cable in through the free cable gland (unscrew the gland cap, push out the sealing rubber and plug, fit the rubber around the cable), attach the cable to the RJ45 connector, then close and tighten the lid.
Open the lid, remove the SIM-slot cover, slide the holder right until it unlocks, lift it, place the micro-SIM contacts face down, close the holder and slide it left to lock.
The SIM must be 2G or LTE-M1 and micro-SIM format. 4G and 5G SIM cards are not supported (use an external USB SIM modem for those). NB-IoT is off by default — its bandwidth is too low for condition-monitoring data. The SIM is not hot-swappable: always unplug power before changing it, and reboot afterwards.
Set Wi-Fi up from the gateway's configuration mode (step 4). The gateway supports 802.11 b/g/n and connects to 2.4 GHz networks only.
Before opening the enclosure
Always unplug the gateway's power cable from the wall outlet first, and never remove the finger guard on the power cable — doing so risks electric shock. Open the lid carefully so the internal cable is not bent sharply.
4. Power up and read the status light
Check the power cable is attached to the gateway, close the lid, and plug it into a wall outlet — it switches on by itself. Use only the supplied power supply.
| Status light | Meaning |
|---|---|
| Green | Connected to the internet. |
| Blue | Trying to establish a connection. |
| Blinking blue | In configuration mode. |
| Red | Error, or no internet connection — open configuration mode to see why. |
Allow about 5 minutes for Ethernet and Wi-Fi to come up, and about 10 minutes for cellular.
5. Configure it if you need to
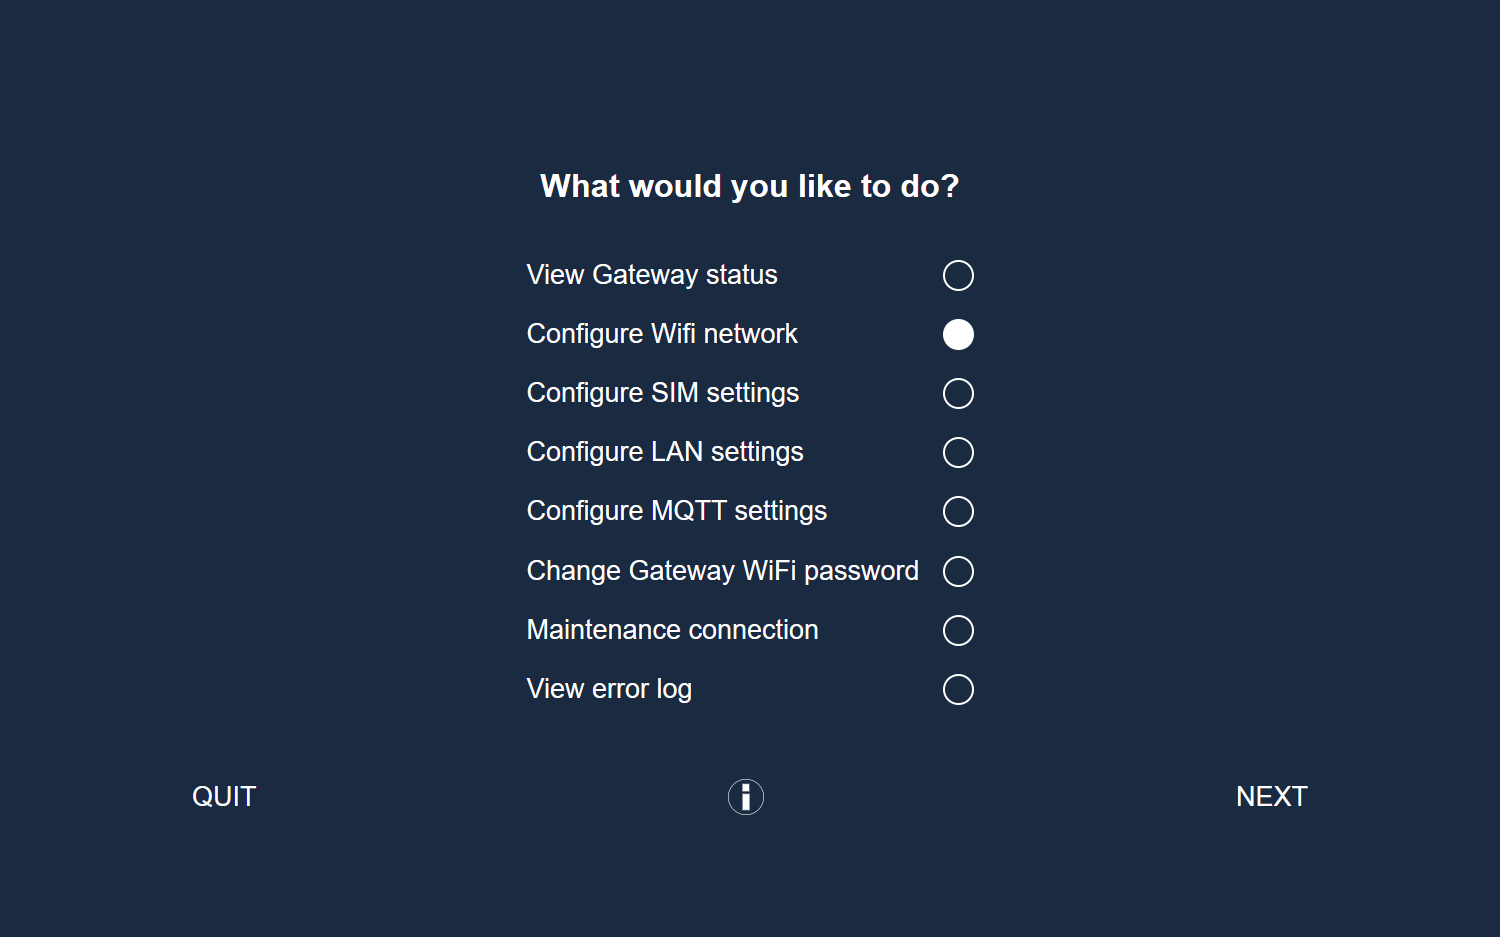
Press the configuration button until the status light blinks: the gateway becomes a Wi-Fi access
point named treongw1-<serialnumber>. Join it with the password supplied with the gateway, then
open 192.168.0.1 in a browser. From there you can set up Wi-Fi, change the access-point
password, check the error log and change the connection priority. Select Quit — or hold the
configuration button until the light stops blinking — to leave configuration mode.
APN
The APN is auto-detected in almost every case. If a cellular gateway still has no connection 20 minutes after booting, set the APN manually in the configuration UI.
6. Confirm it in Treon Connect
Once online and registered, the gateway appears in Devices and can be configured centrally from Configurations. A gateway that never appears has an internet problem, not a mesh problem — go back to the status light.